

So, you’ve had a tree stump removed. Maybe it was an eyesore, a tripping hazard, or just in the way of your new garden plans. Whatever the reason, the stump is gone. But what’s left behind? It’s not just a hole in the ground. There’s usually a pile of wood chips, some leftover roots, and a patch of disturbed soil. This guide will walk you through what happens next and how to get your yard looking great again after stump removal.
Key Takeaways
- After grinding the stump, you’ll typically be left with a hole and wood debris. Proper cleanup is the first step to restoring your yard.
- The wood grindings from stump removal can be repurposed as mulch, but be mindful of how much you use.
- Filling the hole requires good soil, like topsoil or compost, and proper compaction to prevent sinking.
- You can replant grass using seed or sod, or opt for other landscaping features in the cleared space.
- Professional tree stumping service often include cleanup and can help prevent future root regrowth.
What Your Yard Actually Looks Like Right After Stumping a Tree
So, you’ve had a tree removed and the stump grinding is done. What’s left? It’s not quite the pristine lawn you might be picturing just yet. Think of it as a construction site, but for your yard. The most obvious thing is the hole left behind where the stump used to be. Depending on the size of the tree and how deep the grinder went, this hole can be surprisingly large and deep. It’s not just a little divot; it’s a significant void in the ground.
The Hole — Size, Depth, and What’s Left in the Ground
When a tree stump is ground down, the machine essentially pulverizes the wood into small pieces. This process usually goes several inches below the surface to make sure no part of the stump is left to sprout again. What you’re left with is a crater filled with a mix of soil and wood chips. The depth can vary, but it’s common to see a hole that’s anywhere from 6 to 12 inches deep, sometimes more for larger trees. This isn’t just dirt; it’s a blend of the original soil and the pulverized stump material. It’s important to remember that this mixture will settle over time as the wood decomposes, which is why proper filling is so important later on.
Understanding the Wood Debris From Stump Grindings
That pile of material you see? It’s mostly wood chips and sawdust, mixed with the soil that was around the stump. This is the result of the grinding process. While it might look like a mess, these wood grindings can actually be useful. They’re organic material that will eventually break down and add nutrients back into the soil. However, right after grinding, it’s a substantial pile that needs to be managed. Some people leave it to decompose naturally, while others prefer to have it removed or spread out. This wood debris is a key part of what you’re dealing with immediately after stumping a tree.
The area where the stump was is now a hole filled with a mixture of soil and wood chips. This material will settle and decompose over time, so it’s not ready for immediate planting or sodding without further preparation. It’s a blank canvas, but one that needs a bit of work before it looks like the rest of your yard again.
Leaving a stump can lead to tripping hazards and attract pests like termites or ants. Addressing it promptly after tree removal is key for a safe and tidy yard.
Step 1 — Cleaning Up the Site After Stump Removal
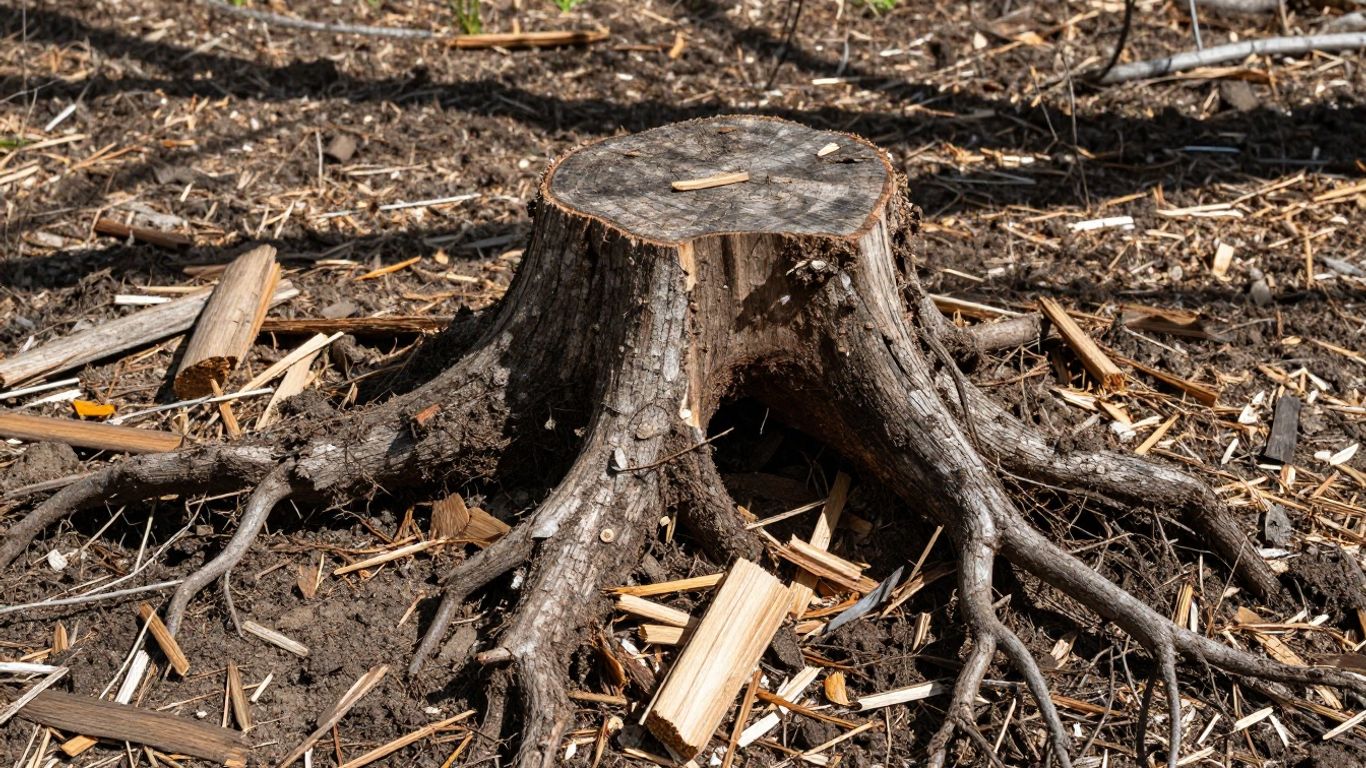
So, the stump is gone, ground down to bits. Now what? The area might look a bit rough, with a pile of wood chips and maybe some leftover roots or dirt. This is where the real cleanup starts to get your yard back in shape. Proper cleanup at this stage is key to a smooth transition to whatever you plan to do next with that space.
How to Handle and Repurpose Stump Grindings
That pile of wood chips and sawdust you’re left with? Those are your stump grindings. Don’t just toss them! They can actually be quite useful in the garden. Here are a few ideas:
- Mulch for Garden Beds: Spread a layer of the grindings around your existing plants or in new garden beds. It helps keep moisture in the soil and stops weeds from popping up. Just try not to pile it too high, maybe two to four inches is plenty.
- Compost Material: Mix the wood chips into your compost bin. They add carbon, which helps balance out the greener, nitrogen-rich stuff.
- Pathway Material: For a rustic look, you could use the grindings to create or top up a garden path.
If you have way too many grindings to use, or they’re just not something you want to keep, most professional services will haul them away for you. It’s worth asking about this when you book the job.
Removing Remaining Root Material and Surface Debris
Beyond the main pile of grindings, you might find smaller root fragments or uneven patches of soil. It’s a good idea to rake through the area, pulling out any stray bits of wood or exposed roots that the grinder might have missed. This makes the ground smoother and helps prevent any unexpected little sprouts from trying to grow back later. You want a clean slate, free of any leftover bits that could cause issues down the road. Think of it like tidying up before painting a wall – you want a smooth surface to work with.
Leaving behind significant root material or debris can lead to uneven settling of the ground as those bits decompose over time. It’s better to clear it out now than deal with dips and holes later when you’re trying to plant grass or flowers.
Step 2 — Filling and Levelling the Hole Properly
So, you’ve dealt with the stump grindings and cleared out any leftover roots. Now comes the part where we actually make that hole disappear and get the ground ready for whatever comes next. This isn’t just about dumping dirt in; doing it right means your yard won’t end up looking like a lumpy mess later on.
Choosing the Right Fill: Topsoil, Loam, or Compost
What you fill the hole with matters. You want something that will settle well and give any new grass or plants a good start. Generally, a mix is best.
- Topsoil: This is the basic layer, good for bulk. Look for screened topsoil if you can get it, meaning it’s had the rocks and big clumps taken out.
- Compost: This is gold for your soil. It adds nutrients and helps with drainage. Mixing in some compost will make a big difference for future growth.
- Loam: Often a mix of sand, silt, and clay, loam is great for drainage and holding moisture. It’s a good all-around choice.
A good approach is to use a blend of good quality topsoil and compost. This gives you both the structure and the nutrients needed.
How to Compact the Ground So It Doesn’t Sink Later
This is probably the most important part to avoid that annoying dip appearing in your lawn a few months down the road. As the wood chips and roots left in the ground break down, they shrink, and the soil above them sinks. You need to counteract this.
- Fill in layers: Don’t just dump all your soil in at once. Add about 6-8 inches of your chosen fill material at a time.
- Compact each layer: Use a tamper, a heavy piece of wood, or even just your feet to really press down the soil. Walk all over it, especially in the centre of the hole.
- Repeat: Keep adding and compacting until you’re a few inches above the surrounding ground level. The soil will settle over time, and you want it to end up flush with the rest of your yard.
It might seem like a lot of work, but taking the time to compact the fill properly now will save you from having to constantly top up the area later. Think of it as a one-time fix for a long-term problem.
After filling and compacting, you might want to let the area sit for a week or two, especially if it’s been raining. This gives it a chance to settle naturally before you move on to restoring grass and ground cover. You can add more topsoil if needed before planting.
Not sure what fill your yard needs? Talk to our Ottawa team — we’ll assess the area and recommend the right approach.
Step 3 — Restoring Grass and Ground Cover
So, you’ve dealt with the hole and the leftover bits. Now comes the fun part: making that patch of yard look like it was never even there. This is where you get to bring things back to life, whether that means a lush green carpet of grass or something a bit different.
Sod vs. Grass Seed for the Restored Patch
When it comes to getting grass back, you’ve got two main options: sod or seed. Each has its own pros and cons, and what’s best for you really depends on how quickly you want results and how much effort you’re willing to put in.
- Sod: This is basically pre-grown grass held together by its roots and a bit of soil. You lay down these rolls or squares, and boom – instant lawn. It’s great if you want a finished look right away, especially if you have an event coming up or just can’t stand looking at a bare patch for long. It also helps prevent soil erosion right off the bat.
- Grass Seed: This is the more budget-friendly option. You spread the seeds over the prepared soil, water them, and wait. It takes longer to establish, and you have to be extra careful about keeping the area moist and protected from birds or heavy rain. But, if you’re patient, you can get a really nice lawn that’s well-suited to your specific soil conditions.
How Long Until the Repaired Area Blends With the Rest of Your Lawn
This is the million-dollar question, right? How long until nobody can even tell you had a stump there? Well, it depends.
If you went with sod, you’ll have a pretty seamless look almost immediately. The main thing is just keeping it watered so the new sod roots properly into the ground. It usually takes a couple of weeks for it to really settle in and start looking like it belongs.
With grass seed, you’re looking at a longer timeline. You’ll start seeing sprouts in about a week or two, but it will take several weeks, maybe even a couple of months, for the grass to grow thick and tall enough to match the surrounding lawn. Patience is key here; don’t expect miracles overnight. You’ll also need to keep up with watering and maybe some light feeding to help it along. If the stump was ground out deeply, you should be able to grow grass normally if at least 6 inches of soil remain. Normal seeding and watering should be possible.
Remember that as the remaining roots underground break down, the soil might settle a bit over time. It’s a good idea to keep an eye on the area for a few months and add a bit more topsoil if you notice any dips or sinking. This helps keep your new grass looking even and prevents any unexpected low spots.
Preventing Root Regrowth and New Shoots After Tree Stumping
Even after the main stump is ground down, you might still see little green shoots popping up. This happens because some trees, like maples or poplars, are pretty determined to keep going. They’ve got stored energy in their roots, and they’ll try to sprout new growth from whatever’s left. It’s not usually a sign of a healthy new tree, more like a last-ditch effort. These little sprouts are often weak and won’t last long on their own, but if left unchecked, they can be a nuisance.
To really stop this, you need to make sure the remaining root system doesn’t have what it needs to sprout. One good way is to cover the area with a thick layer of mulch or even plant some new ground cover or flowers. This blocks out the sunlight that the roots might try to use for energy. If you’re dealing with a particularly stubborn stump or a tree species known for regrowing, you might want to look into professional options. Sometimes, a targeted treatment can help ensure future regrowth is eliminated.
If you’re also dealing with other trees that need attention, our tree removal services in Ottawa cover the full job.
Here’s a quick rundown of what to watch out for:
- New Shoots: Small green sprouts emerging from the stump area or surrounding ground.
- Weak Growth: These sprouts are usually thin and don’t look very robust.
- Persistence: Some trees are just really good at trying to come back.
The key is to deny any remaining root fragments the resources they need to sprout. This means limiting sunlight and, if necessary, considering professional intervention for persistent issues.
If you’ve had a lot of grinding done, the wood chips left behind can sometimes tie up nitrogen in the soil as they break down. This can make it tough for new grass or plants to get established. So, while the stump itself is gone, keep an eye on the soil conditions. Sometimes, adding a bit of compost can help give new plantings a better start.
Landscaping Opportunities the Cleared Space Creates
So, the stump is gone, and you’re left with a patch of disturbed earth. Don’t just stare at it! This is actually a prime spot to get a little creative with your yard. Think of it as a blank canvas.
First off, you can turn that spot into a lovely garden bed. Planting some flowers that do well in our climate, maybe some native species, can really liven things up. It’s a great way to attract birds and butterflies, too. You could even hollow out the remaining stump if it’s still there and use it as a planter.
Or, maybe you’re more into hardscaping. A small patio area with some pavers could be nice, perfect for a little bistro set or even a grill. Alternatively, a decorative rock garden or a simple sculpture can add a unique focal point. It really depends on your style and what you want to get out of the space.
Here are a few ideas to get you thinking:
- Garden Bed: Plant flowers, herbs, or even small shrubs. Consider plants that attract local wildlife.
- Garden Edging: Adding clean borders around your new bed makes a big difference — see our garden edging solutions for ideas.
- Small Patio: Lay down some pavers for a seating area or a spot for your barbecue.
- Decorative Feature: Add a bird bath, a unique sculpture, or a cluster of interesting rocks.
- Expand Your Lawn: If you just want more green space, level the area and re-seed or lay down sod.
Remember to check the soil conditions and drainage before you start planting or building anything. Adding some compost can make a big difference, especially if you have clay soil. It helps everything grow better and prevents water from pooling.
If you’re just looking to expand your existing lawn, this is the perfect chance. Just make sure to level the ground well and choose a grass type that suits our weather. It’s a simple way to gain a bit more usable yard space for playing catch or just lounging around.
Ready to Restore Your Yard? KJ Landscape & Design Can Help
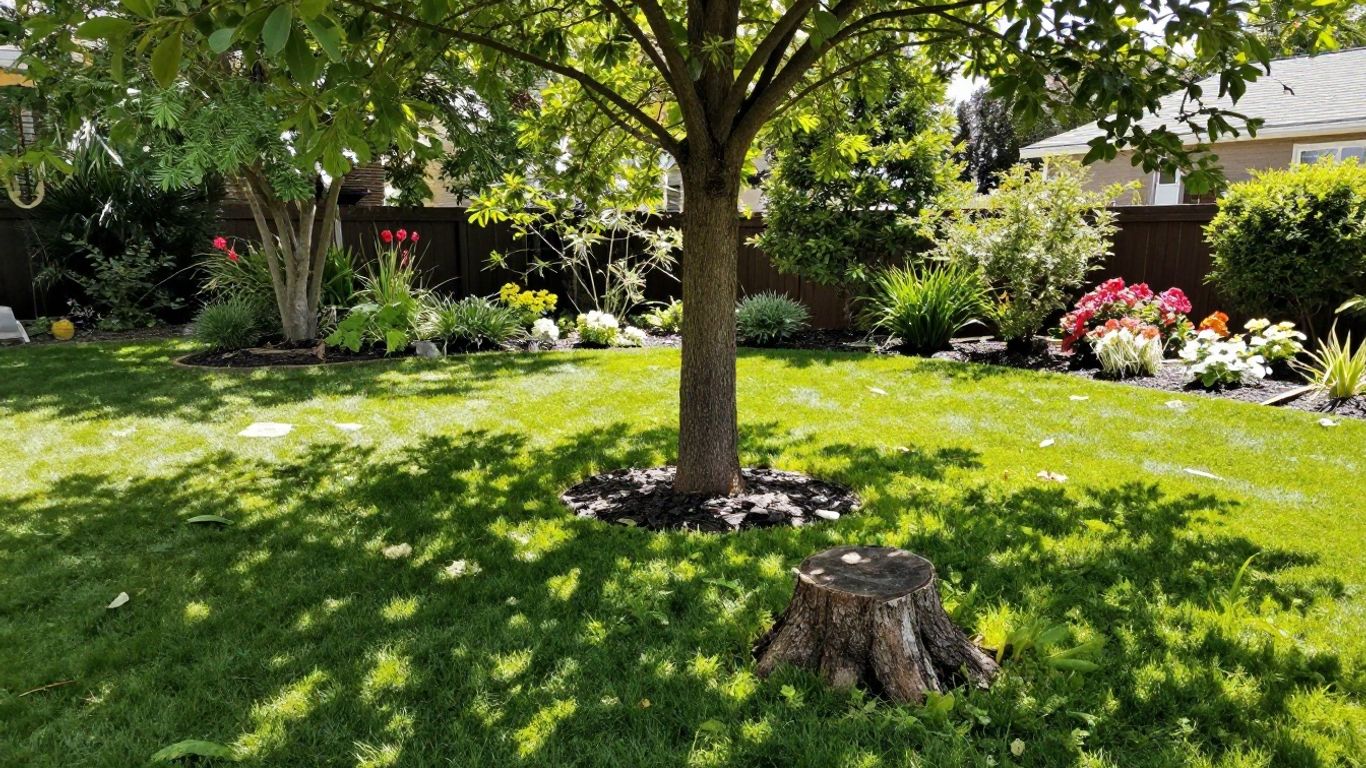
So, the stump is gone, and you’re left with a patch of disturbed earth. It might not look like much right now, but think of it as a blank canvas. Transforming this area back into a beautiful part of your yard is totally achievable.
Dealing with the aftermath can feel like a lot, especially if you’re not exactly a gardening guru. You’ve got the hole, the wood chips, and the general mess to sort out. It’s easy to feel a bit overwhelmed, wondering if you’ll ever get your yard looking like it used to, or even better.
That’s where we come in. At KJ Landscape & Design, we handle the whole process, from the initial stump grinding to making sure your yard looks fantastic afterward. We know what it takes to properly fill the hole, level the ground, and get new grass growing. We can even help you plan out new landscaping features for that spot.
Here’s a quick look at what we do to get your yard back in shape:
- Site Cleanup: We haul away excess wood chips and debris, leaving the area tidy.
- Soil Preparation: We assess and amend the soil, adding topsoil or compost as needed to give new plants or grass the best start.
- Leveling and Compaction: We make sure the ground is level and properly compacted to prevent sinking later on.
- Restoration: Whether you want new sod, grass seed, or a whole new garden bed, we can make it happen.
Don’t let the removal process leave you with a yard you’re hesitant to look at. A professional touch can make all the difference, turning a potential eyesore into a feature you’ll love.
We’ve got the tools and the know-how to get the job done right, whether you’re in Russell or Richmond. Let us take the stress out of yard restoration so you can just enjoy your revitalized outdoor space. Give us a call at (613)-229-0213 and let’s get your yard looking its best again.
FAQs About Yard Restoration After Stump Removal
So, you’ve had a tree stump taken care of. Now what? It’s a common question, and honestly, the process of getting your yard back to looking its best can seem a bit daunting. Let’s clear up some of the common queries people have.
How long does it take for the ground to settle once the stump is gone?
This really depends on a few things, like how big the tree was and how much of the root system was left behind. Generally, you might see some settling over a few weeks to a couple of months as any remaining organic material breaks down. It’s a good idea to keep an eye on the area and top it up with soil if it starts to sink.
Here’s a quick look at what you might expect:
- Small to Medium Stumps: Settling might be minimal, often noticeable within a month.
- Large Stumps: Can take longer, potentially 2-3 months, with more significant settling.
- Compacted Soil: If the ground was already packed down, it might settle less.
What should I do with the wood chips left from grinding?
Don’t just toss them! Those wood chips, or stump grindings, are actually pretty useful. They make fantastic mulch for garden beds, around trees, or even to help suppress weeds in other parts of your yard. Just spread them a few inches deep. Some people even mix them into their compost pile, though it takes a while to break down. It’s a great way to repurpose the material and improve your soil over time.
Can I plant a new tree right away in the same spot?
It’s usually best to wait a bit. While the stump is gone, there are still roots underground that need to decompose. Planting a new tree too soon might mean its roots have to compete with the decaying ones, or the soil might not be stable enough. Most professionals recommend waiting at least a few months, or even up to a year, depending on the situation. You can always plant smaller plants or lay sod sooner. For now, consider filling the hole and getting some grass growing.
It’s important to remember that the goal is to get your yard back to a usable and attractive state. Don’t rush the process; take the time to properly prepare the area, and you’ll have a much better result in the long run. Patience is key when restoring a landscape after a big change like this.
Conclusion
So, that’s the lowdown on what happens after the stump is finally out of the picture. It’s not just about getting rid of the wood; it’s about bringing your yard back to life. Whether you’re planning to throw down some new grass seed, plant a flower bed, or just want a nice, level spot for the kids to play, taking care of the leftover mess and prepping the soil makes all the difference. A little effort now means a much nicer yard later, and honestly, it’s way less hassle than dealing with a rotting stump attracting bugs or becoming a tripping hazard. You’ve got this!